How to Use Cricut EasyPress: Create Perfect Iron-on Projects
Do you want to create iron-on projects with your Cricut EasyPress? If yes, then this blog will help you with this. If you have done a project like this before, you know how to use Cricut EasyPress. But still, if you want to upgrade yourself and learn something extra, you are in the right place.
Let me give you my example! When I started using my Cricut machine, it took me a while to learn to use Cricut EasyPress. But once I got the hang of it, I was excited to use it again for bigger projects. Before that, I was just relying on my regular iron, which took a lot of time to heat up.

So, my Cricut EasyPress has given me a chance to make my DIY projects faster and with more accuracy than before because it matters. Therefore, this blog will show you how to use it in a step-by-step guide. Let’s dive into the Cricut project.
An Overview of Cricut EasyPress
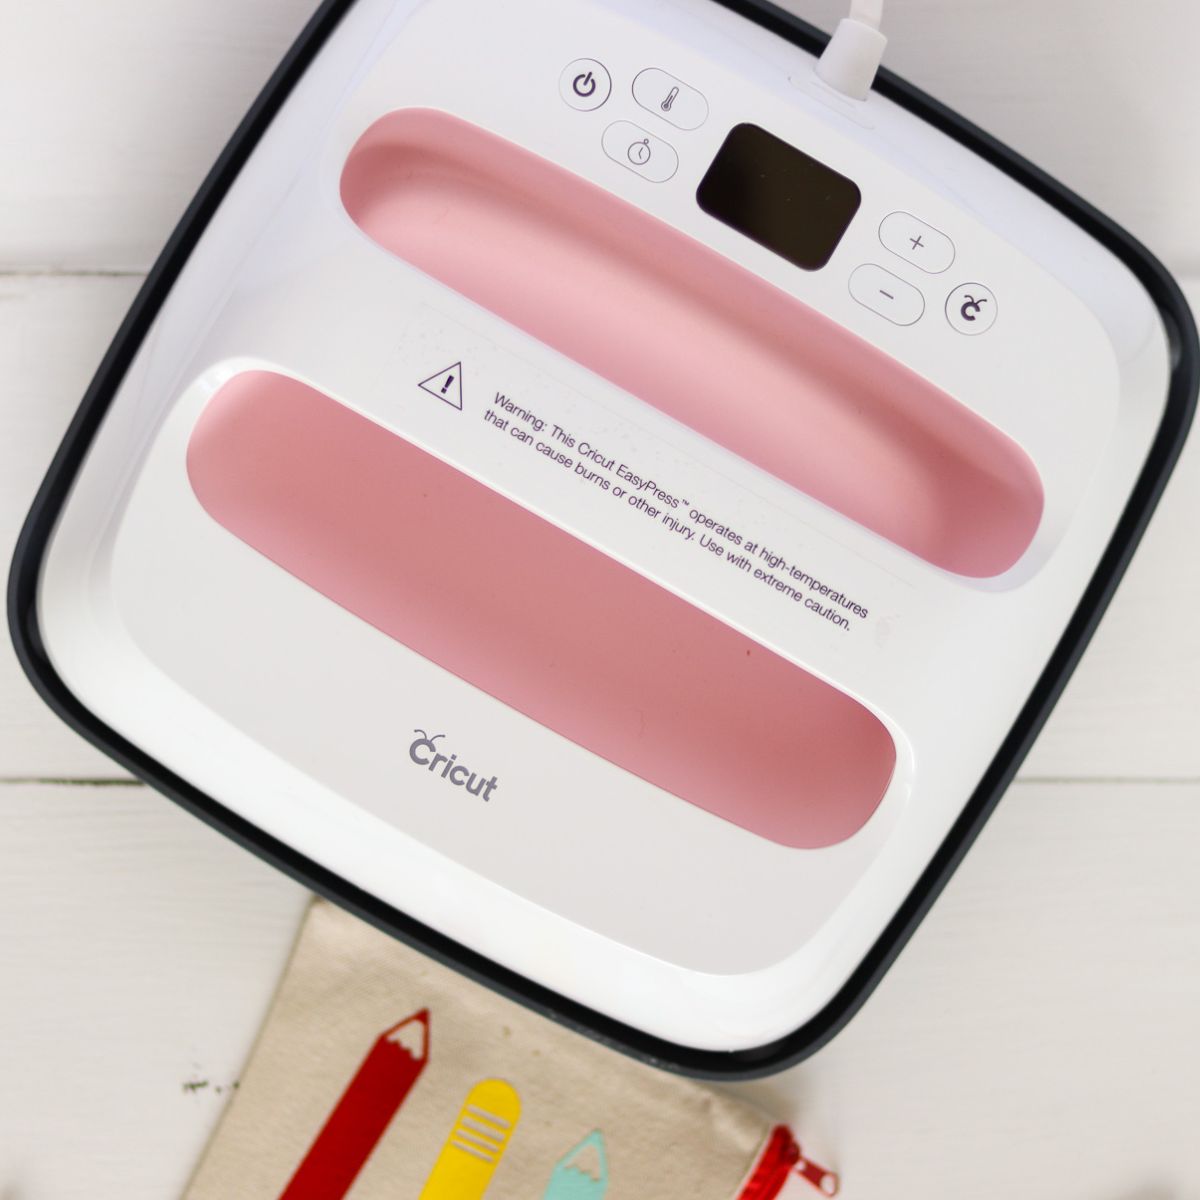
Before moving forward to learn how to use Cricut EasyPress, you should learn what it is exactly. EasyPress is an amazing heat press machine included in the Cricut lineup. This machine works better than a regular household iron. Moreover, it can get heat up to 400 C with the help of a ceramic flat plate that distributes heat evenly on the material.
Plus, EasyPress is available in all sizes according to your needs. And there is also a new version of EasyPress that can connect to Bluetooth for faster results. Why choose this machine?
The primary reason to choose an EasyPress is that it works faster and more efficiently than a regular iron. Moreover, it can also use infusible ink gracefully, which Heat Press can’t do.
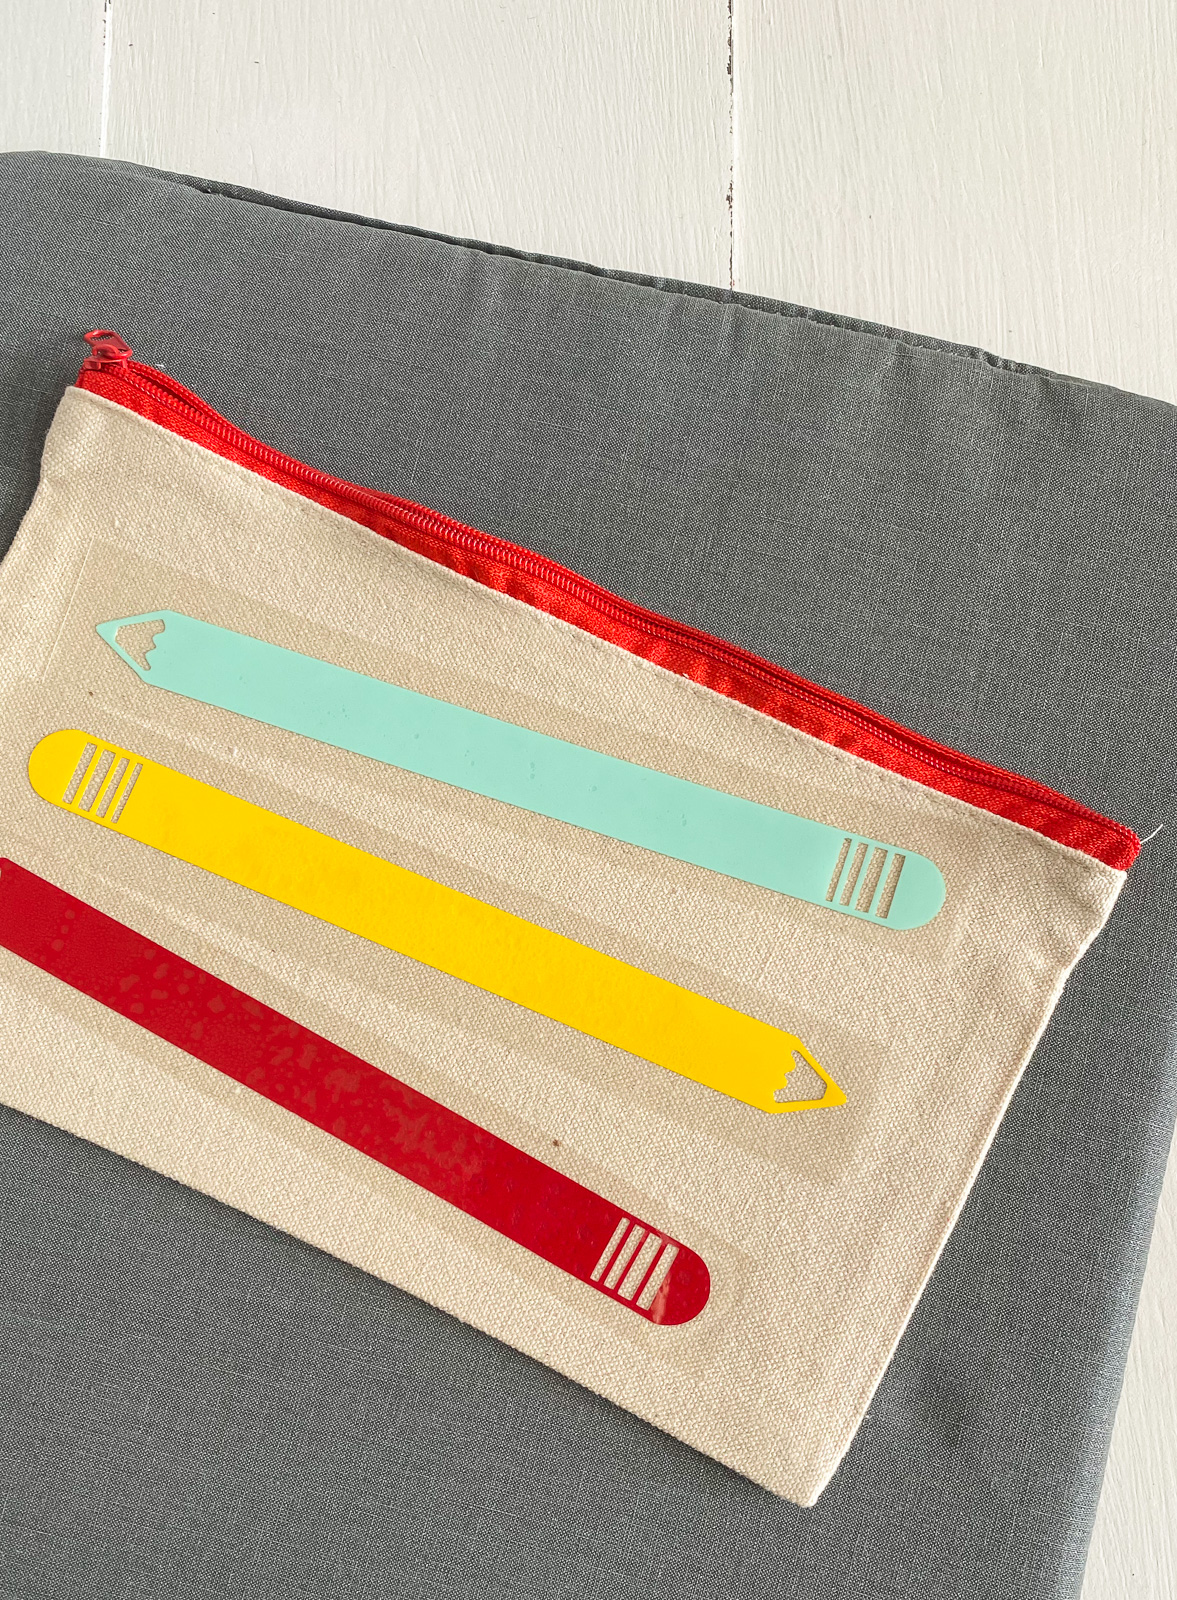
How to Use Cricut EasyPress to Make a Pencil Pouch?
Cricut EasyPress is quite easy to use and work hassle-free. It can be set on a temperature to apply heat to your material. If you have a design in mind, you can transfer it to your iron-on vinyl and use the excellent EasyPress machine to apply heat. Below are the easy steps for using an EasyPress machine.
Step 1: Cutting a Design
You need to start by selecting a project and preparing it on your Cricut Design Space software. Once you are satisfied with the design, cut it out with your Cricut cutting machine.
Once you cut your design, you need to weed it out using a weeding tool. Don’t forget to mirror your design before performing cutting.
Step 2: Turn on the Cricut EasyPress Machine
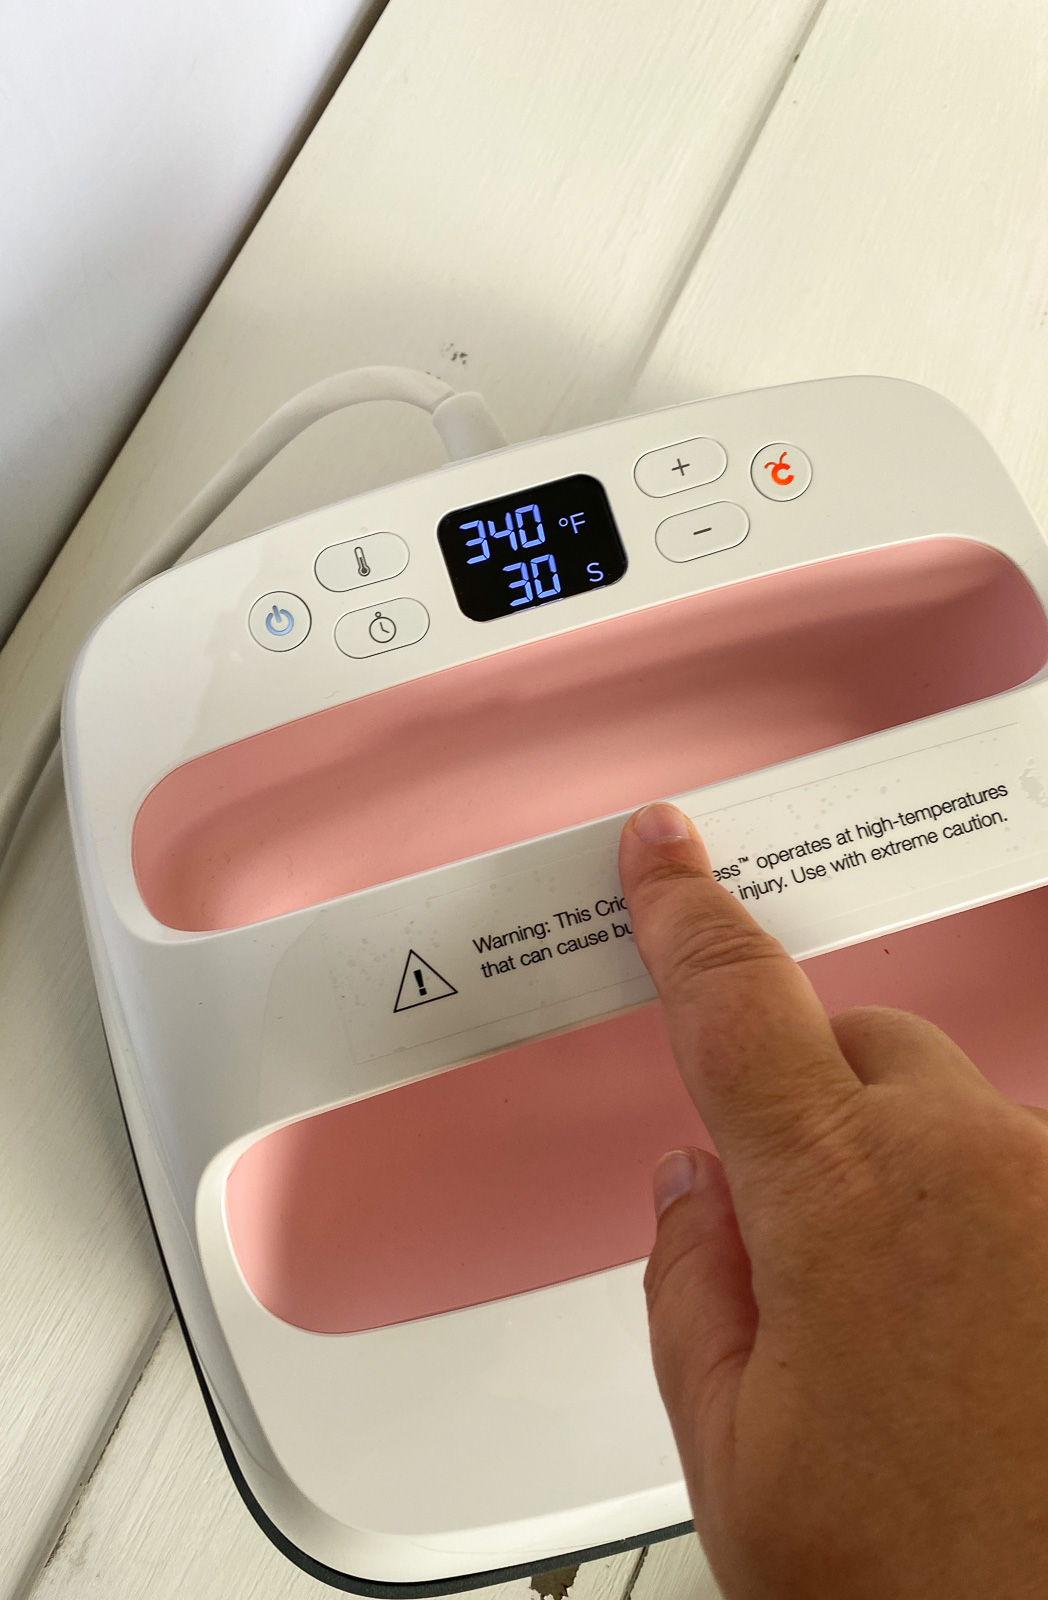
In this step, you should turn on your EasyPress machine and change its temperature by hitting the thermometer option on the machine using the arrow keys. Plus, Cricut has a page that helps you select the perfect temperature and settings correctly.
Once the EasyPress’s light turns red to green, your machine is ready to use. You’ll also hear a beep sound.
Step 3: Place Your Blank on the Cricut EasyPress Mat
You are almost close to learning how to use Cricut EasyPress. Once you turn on your machine and it’s all set to use, you need to put your blank material on the EasyPress mat.

You can also use a towel in place of a mat to prevent the surface from heat. But using a mat would be a better option. So, go with it.
Step 4: Preheating the Blank
Once you place the blank on the Cricut EasyPress mat, you need to preheat your blank for at least five seconds to prepare the surface for iron-on vinyl and remove moisture and wrinkles from the surface.
Step 5: Place the Weeded Design on the Blank
When you are ready with your blank, you need to put the weeded iron-on vinyl design onto the surface. Moreover, make sure that the plastic sheet is facing up on the blank.
Step 6: Setting the Timer
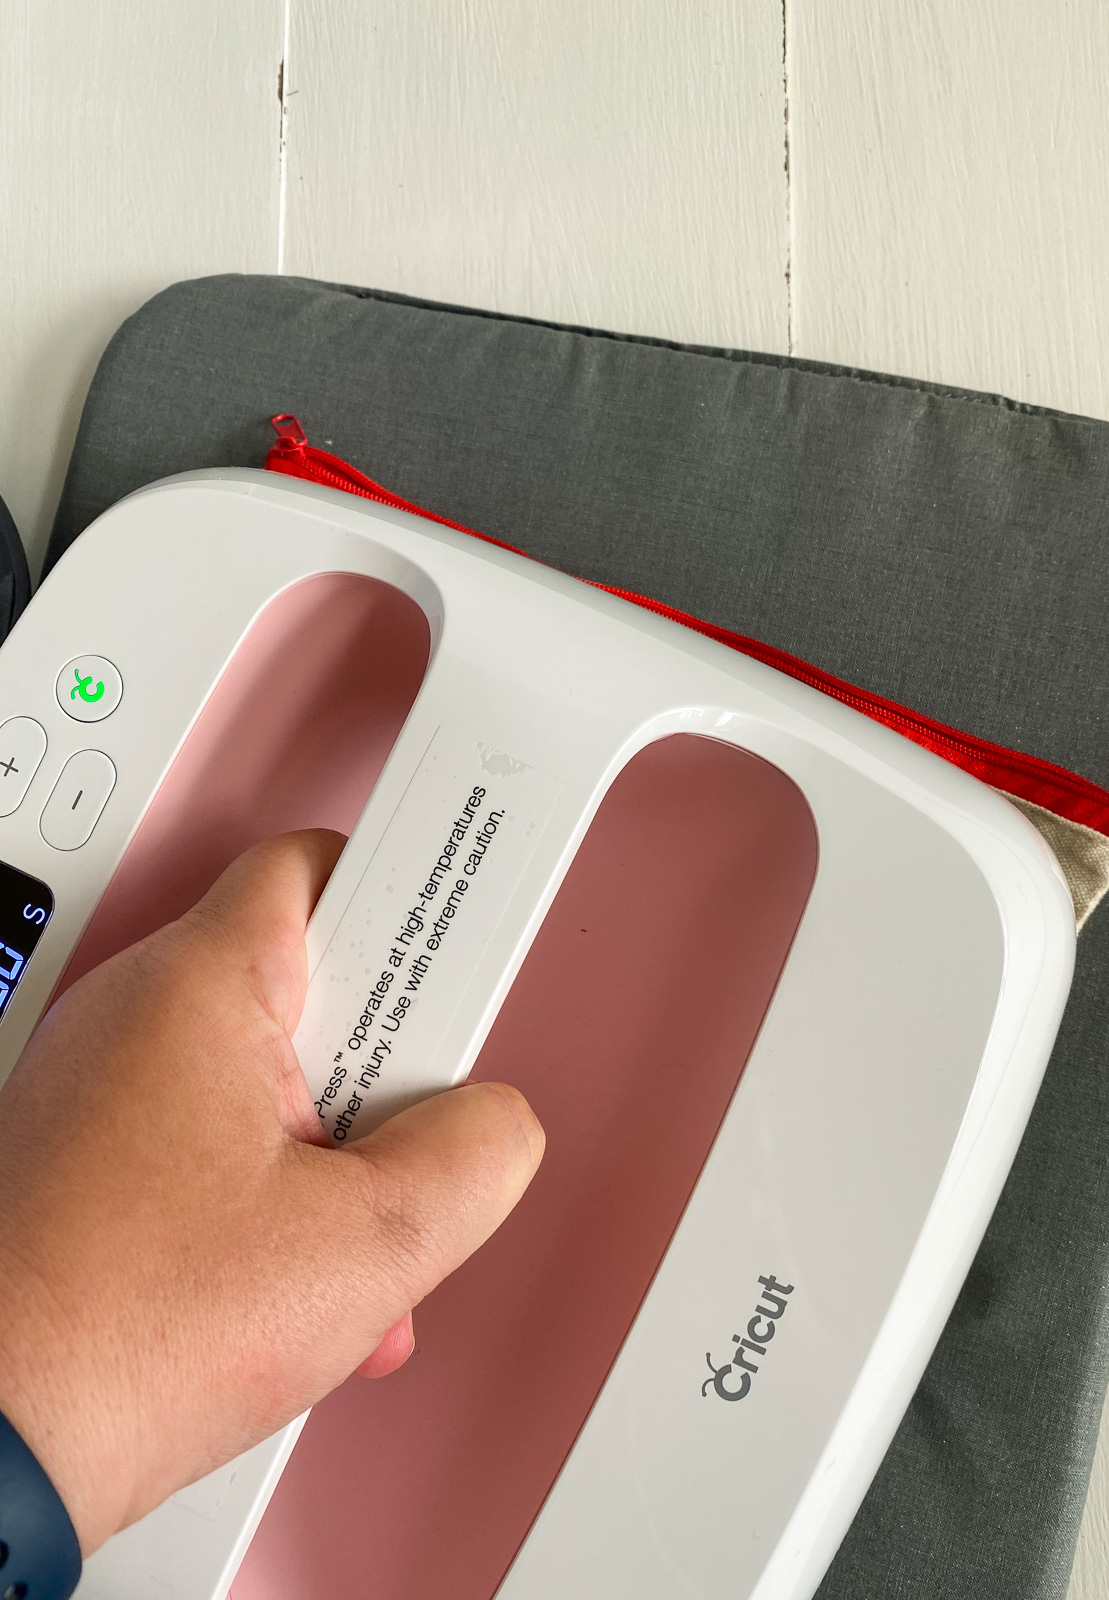
Once you are done, set the timer on your EasyPress machine. After that, apply your EasyPress machine to the blank’s surface and click on the Start button to start the machine’s timer.

Plus, apply the machine with light pressure with your hands. Avoid rubbing the machine on the blank, as it may damage your blank.

Step 7: Removing the Cricut EasyPress
When the timer is off, you should remove the EasyPress machine from the blank and place it on its base once again.
Step 8: Allow the Design to Cool
Now, allow your design to cool completely. Once it is cool, peel off the plastic backing from the design. But, if you feel that your design needs more time to settle, you can press it with EasyPress once again without fully removing the plastic backing.

Step 9: Reveal Your Design
Viola! You have prepared your design completely. Here ends our step-by-step project with iron-on vinyl and an EasyPress machine.

Conclusion
Finally, you know how to use Cricut EasyPress machine for making an iron-on vinyl project. There are different EasyPress machines according to your project type and needs. Luckily, the EasyPress machine comes with a guide to figure out its temperature settings and all.
Frequently Asked Questions
Q.1 How to Use Cricut EasyPress 3?
Cricut EasyPress 3 is the latest heat press in the Cricut lineup, which is more compact, efficient, and easy to keep. This machine is compatible with all printing methods, including infusible ink products. Hence, if you are planning to use EasyPress 3, you can opt for sublimation projects.
Q.2 How Does Cricut EasyPress 3 Differ From EasyPress 2?
Well, both of these machines work excellently. But, EasyPress 3 removes the extra effort to manually set the temperature and settings, unlike EasyPress 2. Overall, EasyPress 3 is faster and more efficient than the EasyPress 2, and that makes it the first choice for many.
Q.3 What Size Cricut EasyPress is Best?
Usually, a Cricut EasyPress in 9 x 9 is considered the best heat press. This site is of EasyPress Mini, which is portable, compact, and can be easily used on small to medium-sized projects. However, it doesn’t make the other Cricut machines less. All the sizes of EasyPress are perfect for your everyday iron-on projects.
Source :- https://designaccessoriesmart.com/how-to-use-cricut-easypress-create-perfect-iron-on-projects
Comments
Post a Comment