How to Use Cricut Hat Press: Tips & Tricks for Perfect Results
Crafting is something that brings peace to my soul. Whether it’s Halloween, Cyber Monday, or Christmas, I love making unique crafts with the Cricut machine. Last week, I tried some handmade hats with the Cricut Hat Press machine. And I can’t explain how exciting my crafting journey was. It was all about how to use Cricut Hat Press and the Cricut Heat app to bring a good piece of a project to life. One of the exciting things I found during this crafting process is its easy-to-use features.
Are you excited to learn more about this Cricut machine? All right! Here, I will share everything you need to get started with this smart machine. Since I own a crafting business and have immense knowledge of the crafting field, I can help you with every detail of crafting using this machine. So, let’s start a thorough journey with Cricut’s new product, the Cricut Hat Press.
Cricut Hat Press: An Overview

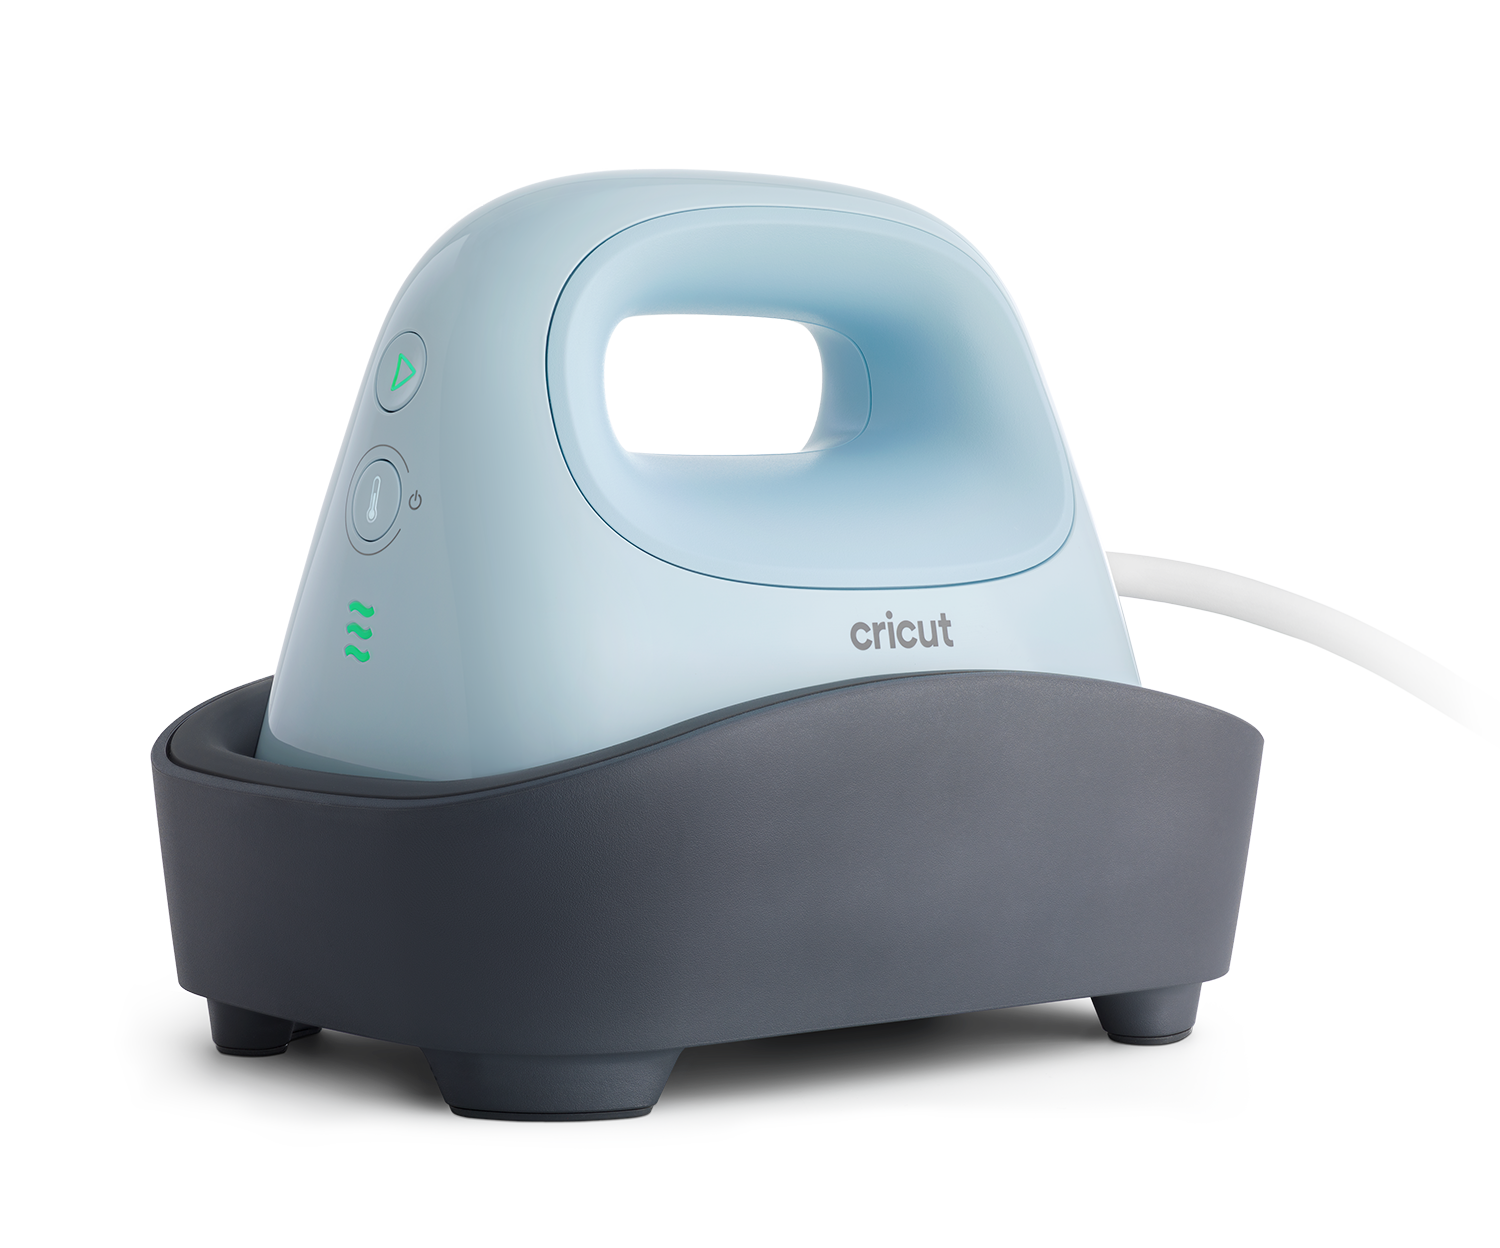
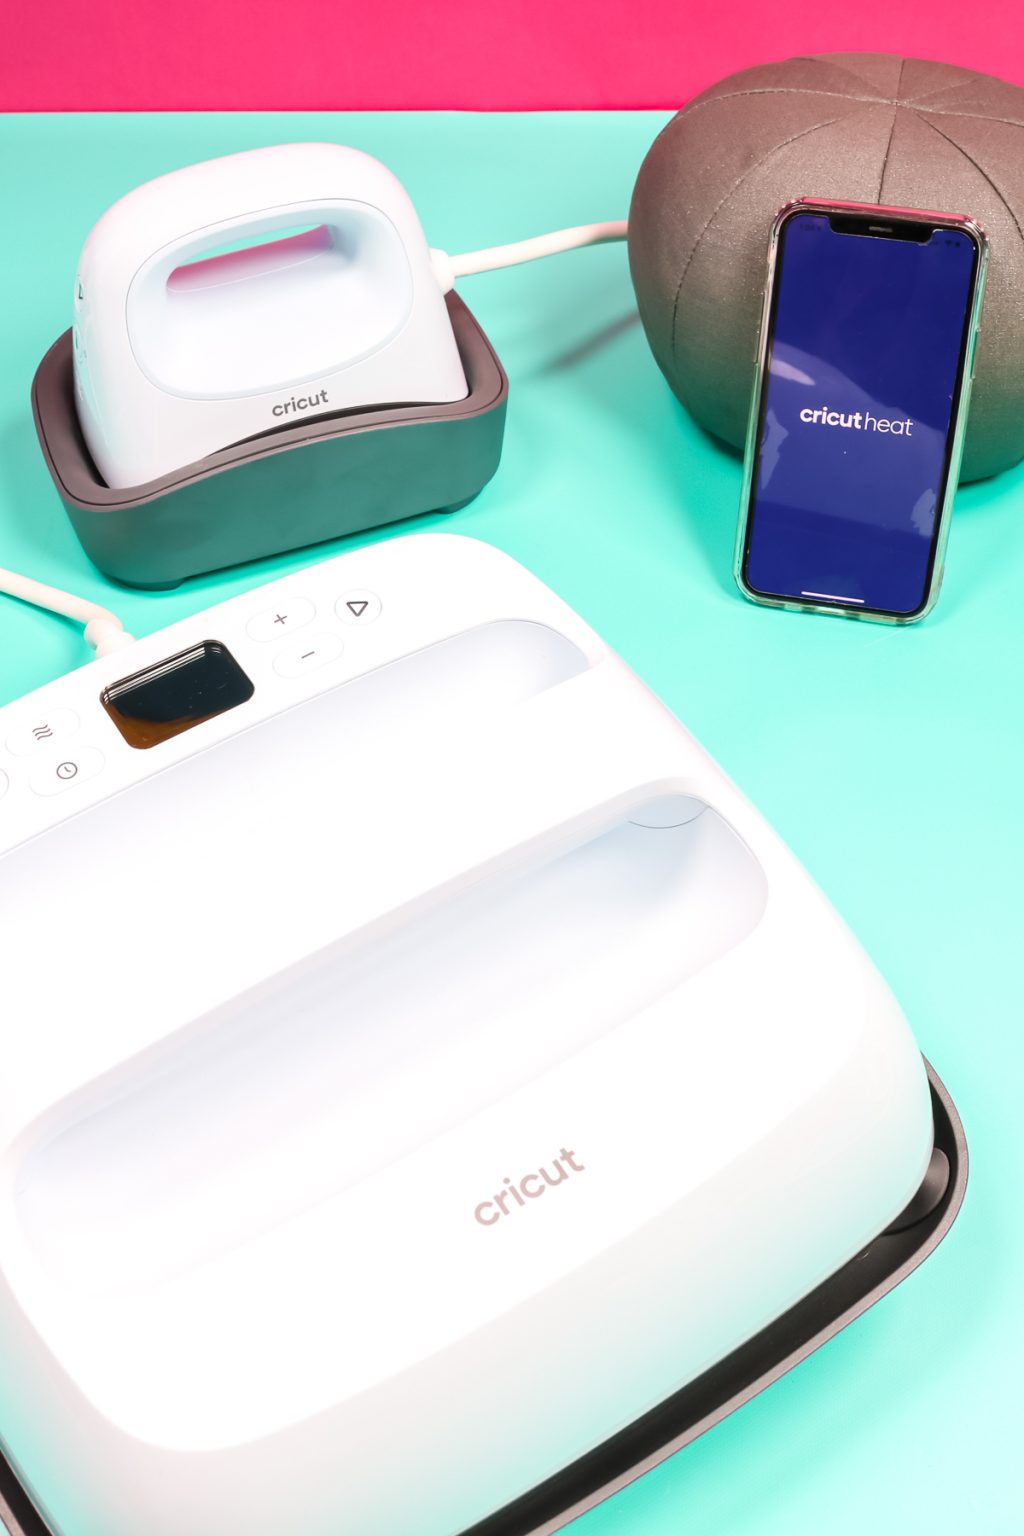
Cricut has introduced the Cricut Hat Press as a new compact and user-friendly machine. This machine enables crafters to create custom hats in the comfort of their homes. It uses heat transfer technology to include text, logos, intricate designs, etc, on hats. Moreover, the machine’s size is small, and thus, you can easily apply heat even to the hat’s brim. It just required precise temperatures and time for excellent craft results. The machine includes the press, a stand, and a hat form to help you with the time-saving crafting process. Plus, you will need a Cricut Hat Press app for better crafting.
What Do You Need to Use the Cricut Hat Press?
Before you start crafting with your machine, you will need to gather all the essentials. Do you have yet to decide what to prepare beforehand? Here is the list of things you will need to use the Cricut Hat Press.
- Cricut Hat Press
- Cricut Hat Press stand and hat form
- Compatible Hats
- Weeding tools to ward off excess material.
- Cricut Design Space to create/upload a design.
- Cricut machine, plus cutting mats.
- Cricut Iron-on or Heat transfer vinyl (HTV).
How to Use Cricut Hat Press for Making a Custom Hat?
Are you ready with the supplies and other essentials? Now, the time has come to begin your crafting process. Below, I am explaining the whole process step-by-step.
Step 1: Create & Weed Out a Design
The first step to start using the Hat Press machine is to create a design. For this, you can use a design in the Cricut Design Space, or you can use any of the SVGs. After you create the design, please send it to your Cricut machine and start cutting. Also, make sure to mirror your design before you cut it onto the HTV Iron-on.
Furthermore, ensure to follow all the on-screen instructions carefully to cut on the software. After that, use weeding tools to weed the design. Now, the design is ready to apply to the hat.
Step 2: Download the Cricut Heat App

Are you curious about the next step of how to use Cricut Hat Press? In this step, you will need to download the Cricut Heat app.
- First of all, open the Cricut Heat app.
- Now, follow all the prompts to set up your press machine.
- Later, use the app to determine the temperature and time.
- Then, enter the type of vinyl and the material you use.
- After that, allow Bluetooth to connect your machine and the app.
Step 3: Preparing the Hat

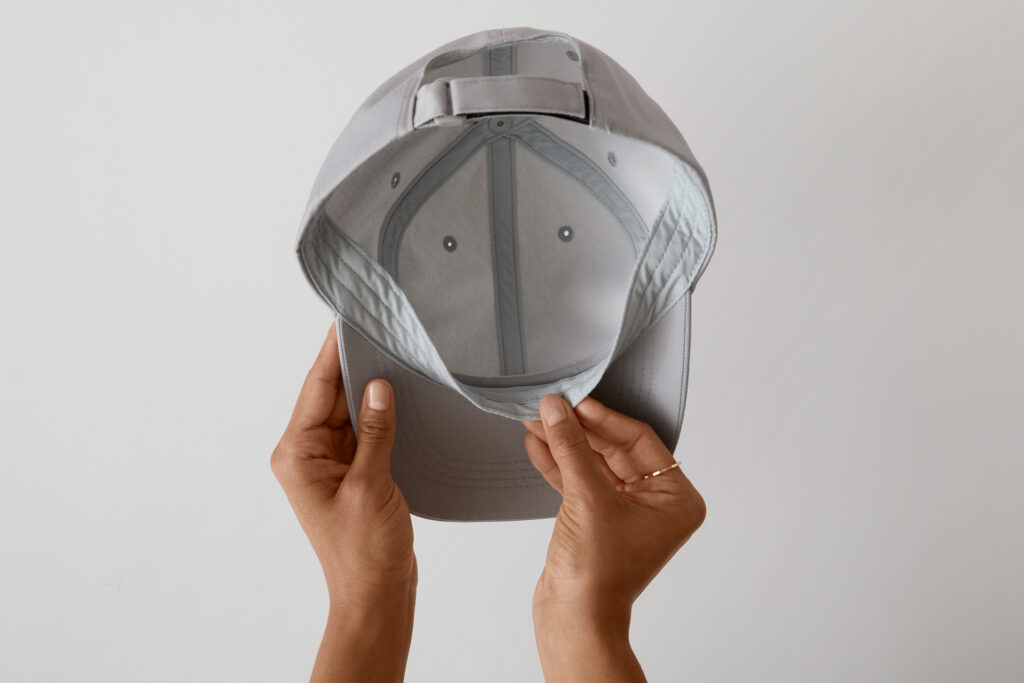
Look at your hat and find if it has a sweatband. If it has, flip it down. Also, ensure to put your hat on the hat form that comes with the machine. Then, proceed with the instructions below.
- Start by turning on the Cricut Hat Press machine.
- After that, when you see that the lights are green, it means that the machine is ready.
- Further, preheat the hat by looking at the directions on the application.
- Next, tap on the green triangle and start the time.
- Finally, press till you get to hear the beep.
For precise temperature and time, you can refer to the Cricut Hat Press temperature guide. It will help you with the correct temperature settings and more.
Step 4: Attach the Design to Your Hat

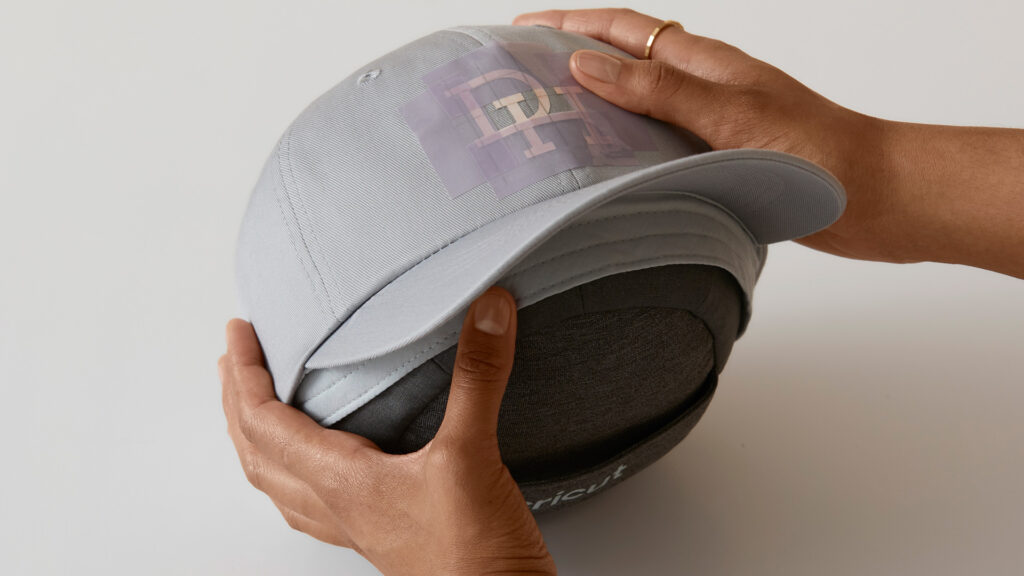
After you prepare the hat, the next step is to use Cricut heat tape to fix the design of the hat. To get a perfect ensure that the design is flat against the hat with no bubbles or creases. Additionally, it should be your job to make sure that the design is not too close to the brim of the hat. If it’s too close, you can find it difficult to tape. Also, it will become challenging to get enough heat and pressure to stick to the hat.
Step 5: Use Your Machine for Applying the Design to a Hat
Once the design is adhered with the tape, press the triangle once again. Now, press the Hat Press over the design. The app will help you with the pressure firmness pressure to use. In this step of how to use Cricut Hat Press, continue to press the hat until your machine beeps. Also, confirm that the heat and pressure is applied to all the parts of the design. Finally, when the press starts to beep, put the press on the stand. Then, peel off the transfer sheet as per the app directions.
Woah! This way your cust hat is ready to go.
Conclusion
Cricut Hat Press is a wonderful Cricut machine that you can use to make custom hats at home. These hats can make a perfect gift on Christmas and other special occasions. So, bring out the machine and learn how to use Cricut Hat Press with the Cricut Heat app. Once you register your press successfully, you can get started with an extensive range of hats. Moreover, you can create them and sell them online, too.
Frequently Asked Questions
Q.1 What Comes With the Cricut Hat Press Box?
Do you have yet to learn what is included with the Hat Press machine? It is obvious to get curious about opening the box. Look at the list of certain things that come with this smart machine.
● Cricut Hat Press
● User guide
● Safety Base
● Cricut Hat pressing form
● Strong Heat Resistant Tape
● Iron-on Design to practice.
Q.2 How to Set Custom Time and Temp Settings in Cricut Heat App?
Custom time and temperature settings are essential to use the Cricut Heat app. So, follow these instructions to set them up correctly.
- First, open the Cricut Heat app.
- Now, select the Cricut Hat Press Under My Heat Press.
- After that, scroll to set Custom Time and Temp.
- Next, change the Temperature and Press Time.
- Finally, select Send Settings to Hat Press.
Q.3 How to Activate Cricut Hat Press?
Are you new to the Cricut Hat Press machine? Perform these steps to activate the machine.
- First of all, plug in your machine.
- Next, download the Cricut Heat app.
- After that, pair the device through Bluetooth settings.
- Then, select the Set Up option in the app.
- Thereafter, accept Cricut’s Terms of Use and Privacy Policy.
- Lastly, click on Activate.
Sourec :- https://designaccessoriesmart.com/how-to-use-cricut-hat-press-tips-tricks-for-perfect-results
Comments
Post a Comment